Patient Appointments
To create a new Appointment, you must follow the next steps.
- In the DoctorHelper®’s app, click the Site map icon
, and then click “Appointments Board”.
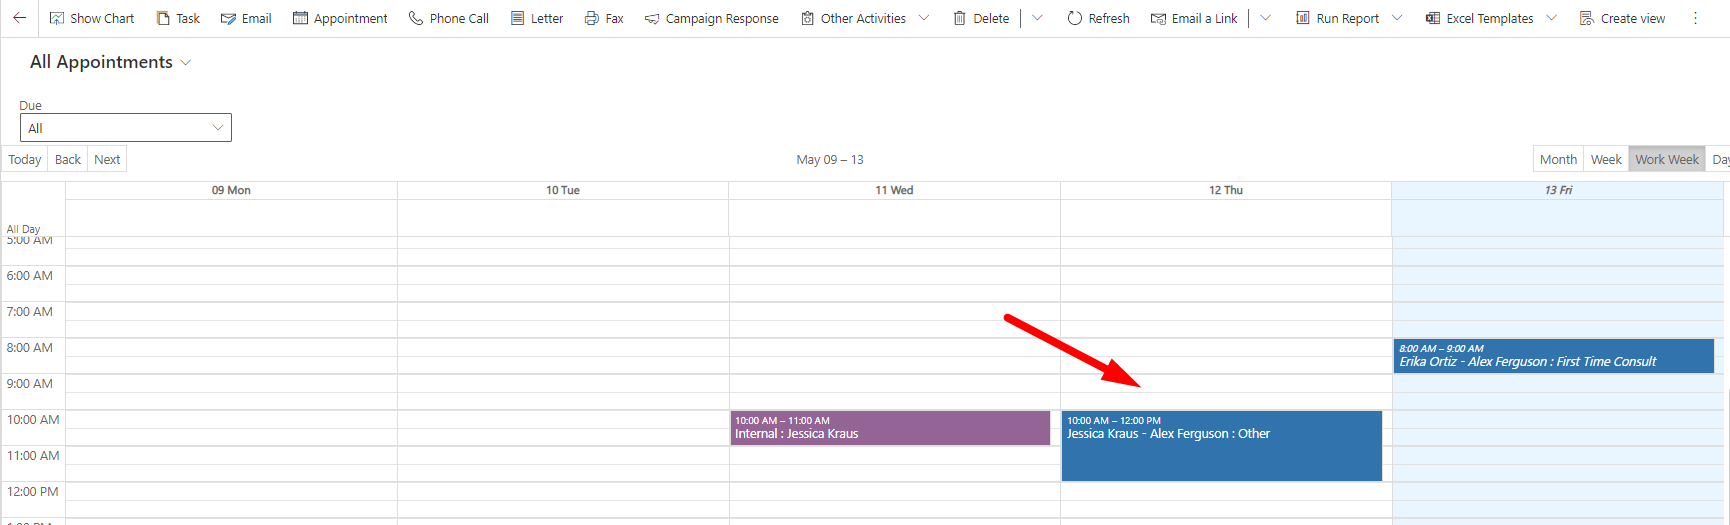
- Select time slot to Create Appointment and click it.
- The Appointment form will be opened.
- Complete the Appointment's information. Fields with (*) are required fields and must be completed before saving the record for the first time. Fields marked with (-) are autocompleted.
- General Information.
- (*) Internal/Patient: Select this value: Patient.
- (*) Practitioner: Select Appointment's Practitioner from the lookup list (click
or press Enter).
- (*) Patient: Select Appointment's Patient from the lookup list (click
or press Enter).
- (*) Type: Select Appointment's Type from the lookup list (click
or press Enter).
- (*) Appointment Reason: Select Appointment's Reason from the lookup list (click
or press Enter).
- Other Reason: If you select “Other” in Appointment Reason this field will be displayed. Enter other appointment reason.
- (-) Start Time: This field will be autocompleted after the slot time is selected.
- (-) End Time: This field will be autocompleted after the slot time is selected.
- (*) Duration: Enter Appointment’s duration. The end time will be updated if you enter different slot time.
- (*) Re-schedule: This field will be configured with None value. Use this field when a Patient re-schedule the appointment.
- Click “Save and Close”.
- General Information.
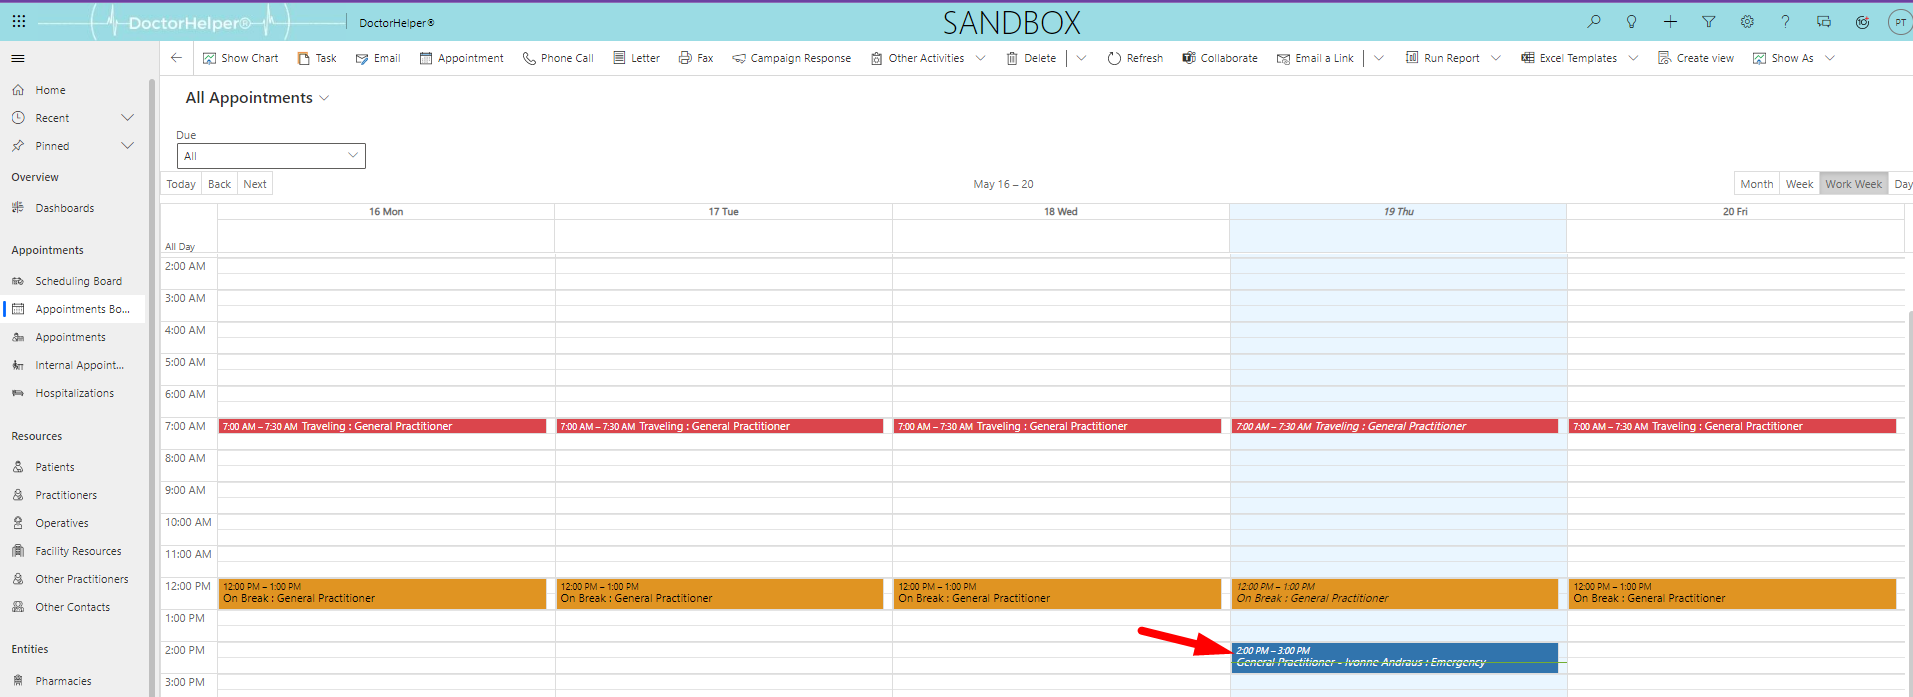
The appointment will be created on the Appointment Board.
This will be created in the Appointments section.
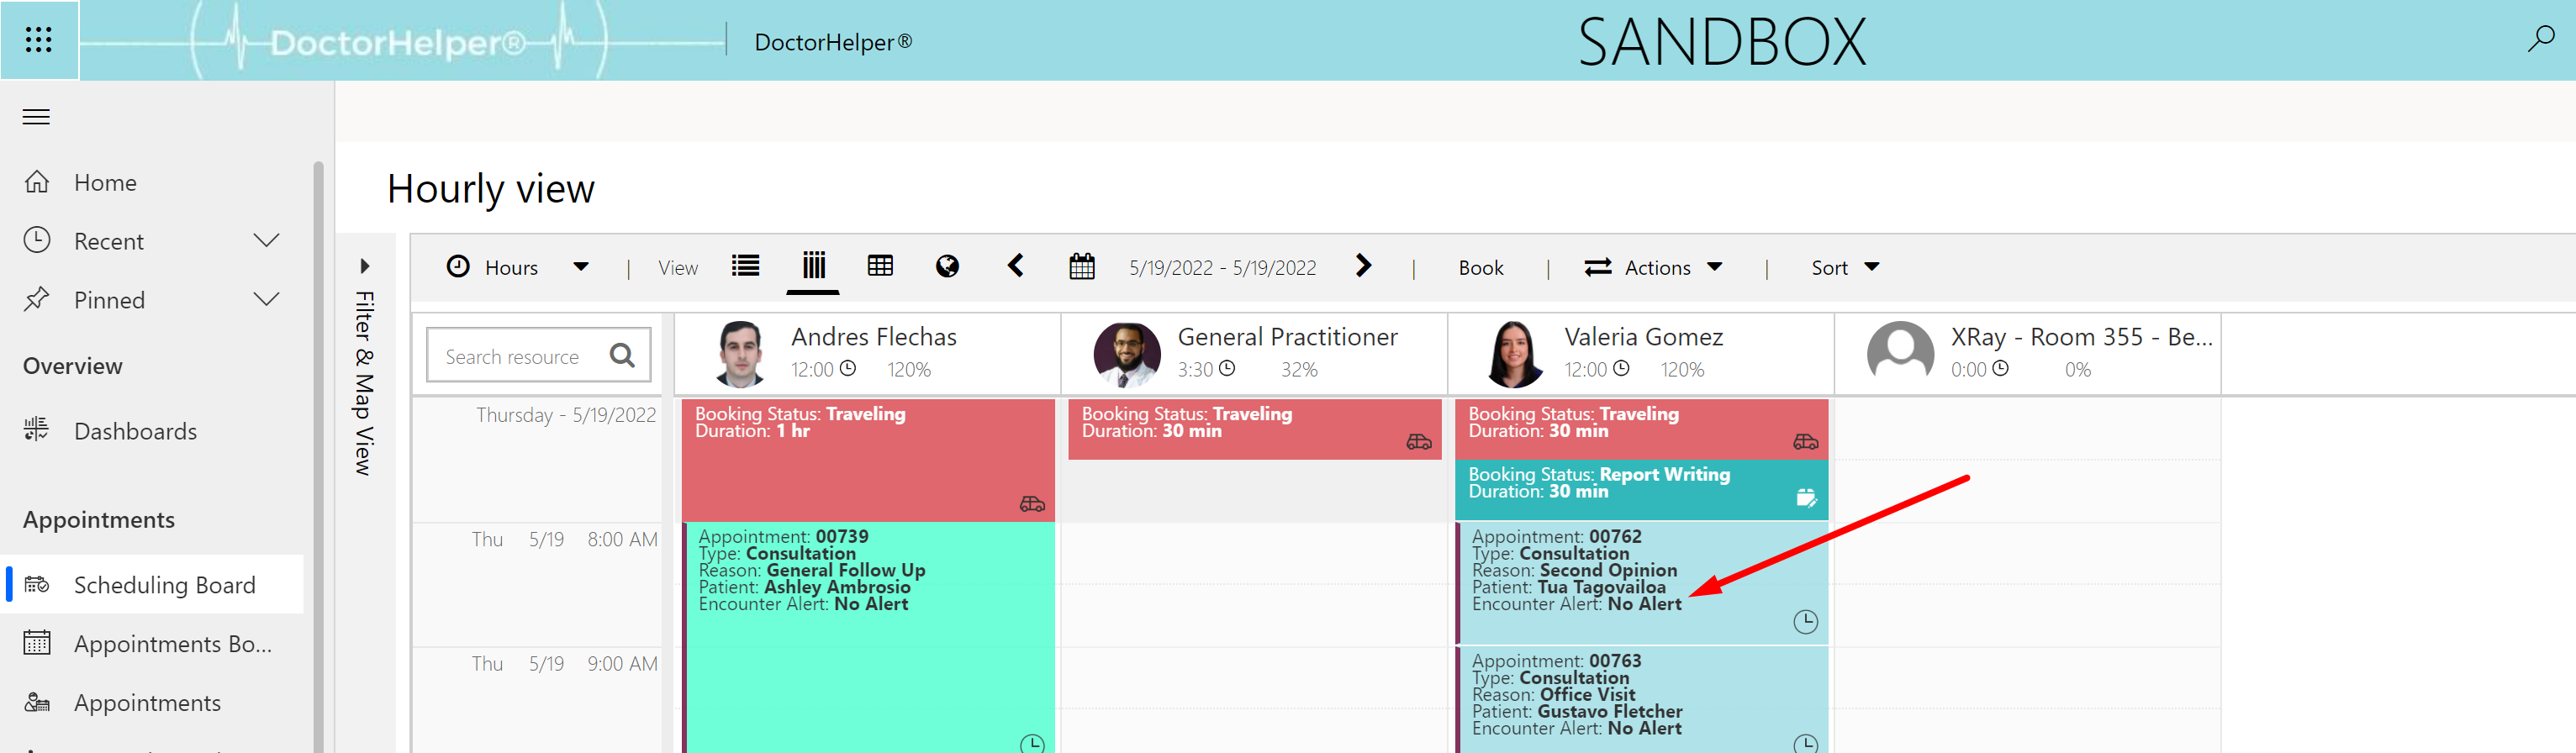
And will be created on the scheduling board.
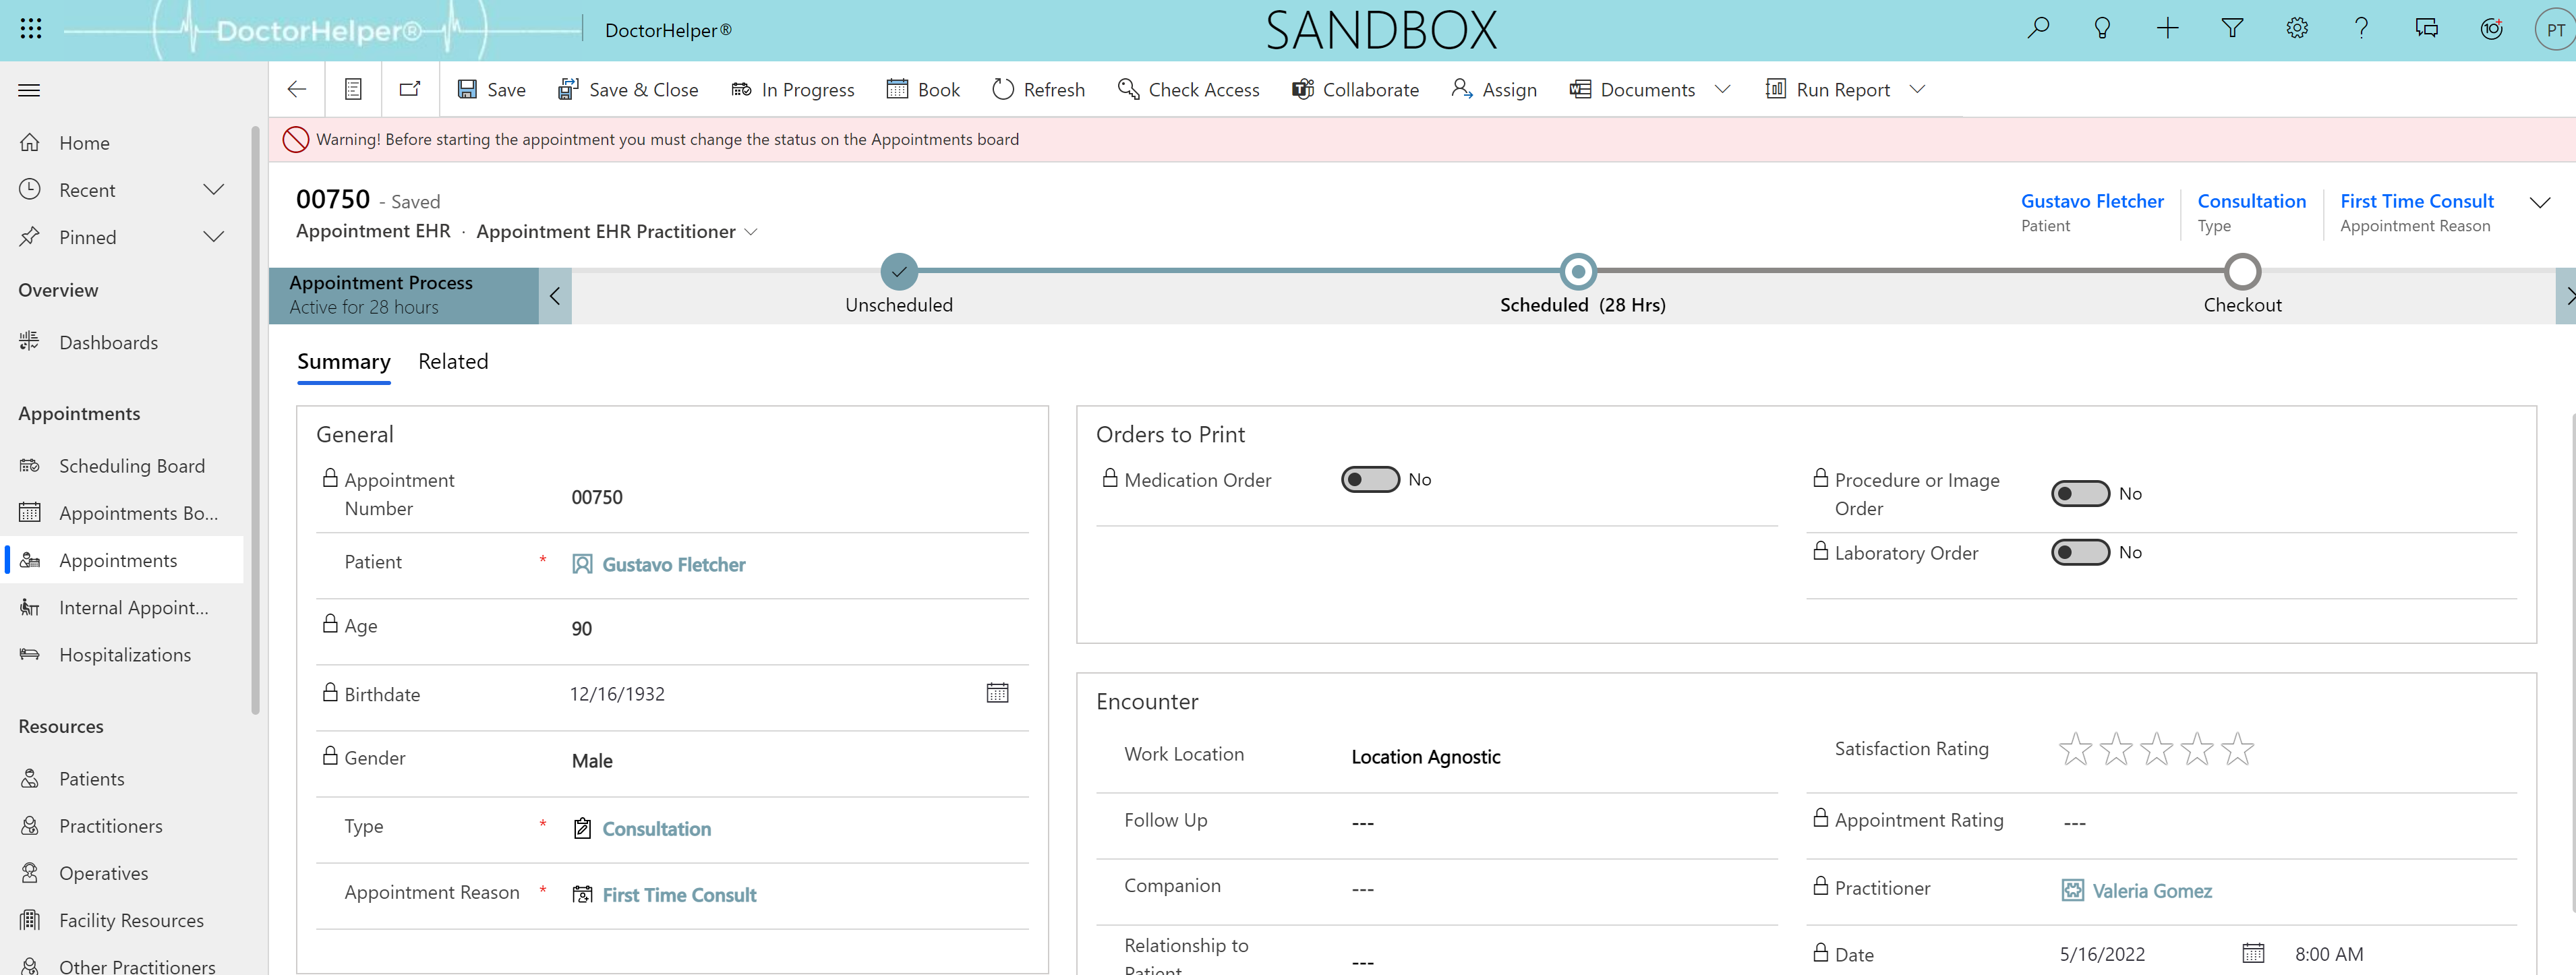
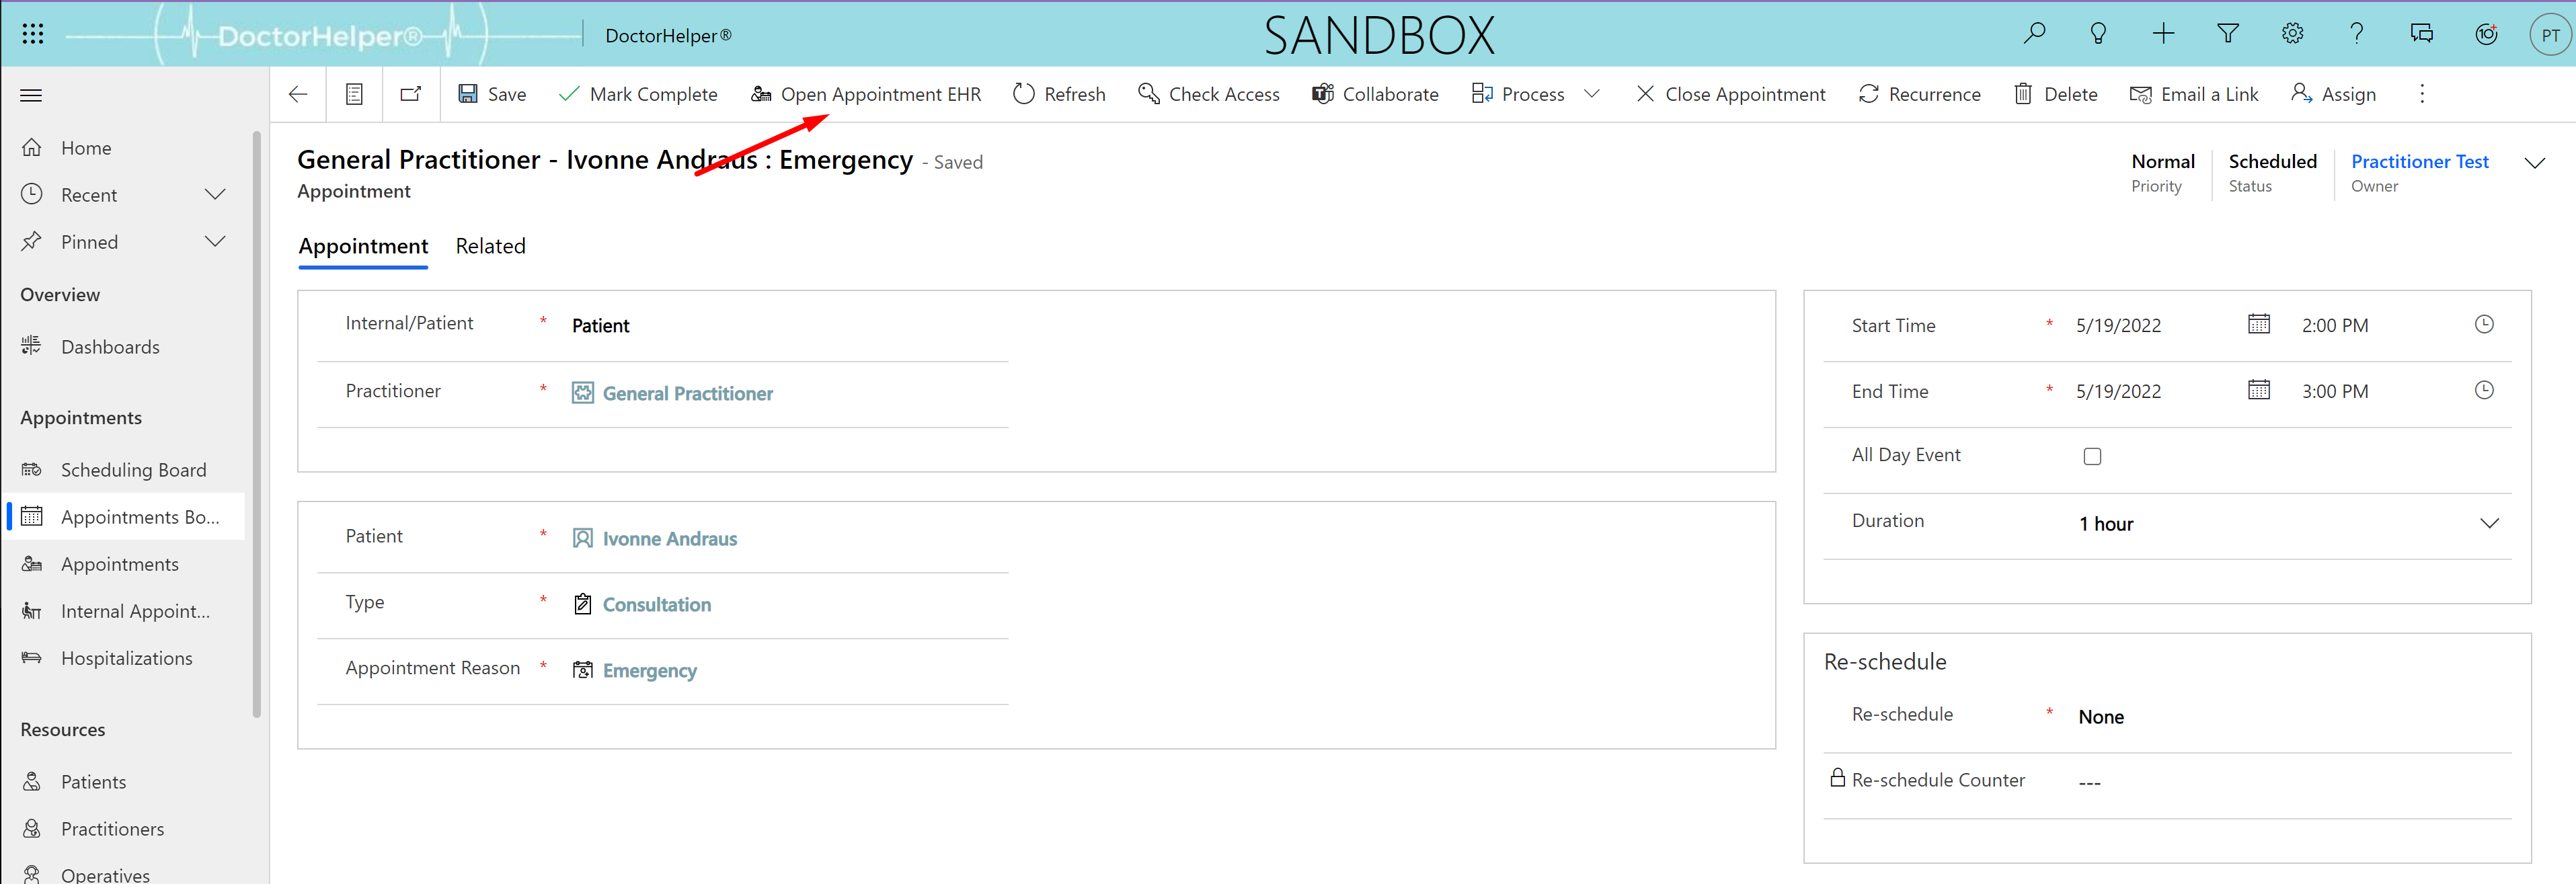
To access the appointment, click the appointment on the Appointments Board.

Then click “Open Appointment EHR”
Or go to the Appointments section on the site map and click the Appointment’s number
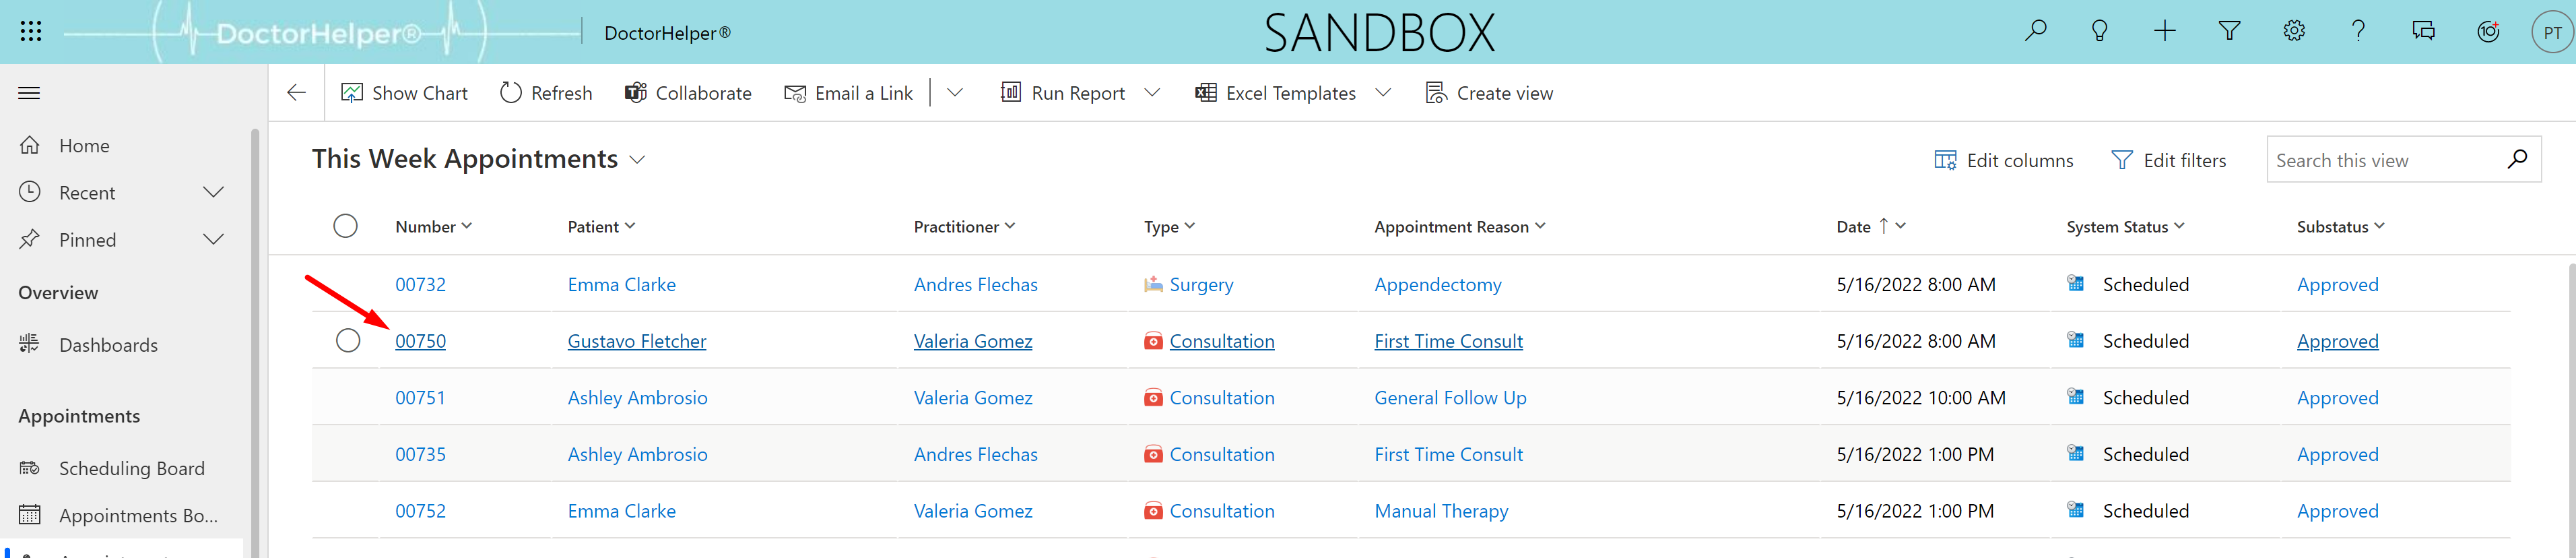
The appointment will be opened.